Git Bash에서 Zsh 사용하기
서론
나는 윈도우에서 개발 시에는 Git for Windows를 설치하면 제공되는 Git Bash를 통해서 개발하는 편이다. WSL은 VM으로 구동되는 한계가 있어 퍼포먼스면에서 여러모로 불편한 점이 많다 (그래도 최근에는 개선되는 모습이다).
하지만 Bash만 사용하면 Zsh의 여러 플러그인이나 자동 완성등의 편의 기능을 이용할 수 없어 불편한 점이 많다. 그래서 Git Bash에 Zsh를 설치해보려고 한다.
설치
- 다음 링크에서 zsh 패키지 다운로드.
zst파일을 받을 수 있는데, 국내 사용자라면 대부분 설치하는 ‘반디집’ 프로그램에서 압축 해제할 수 있었다.
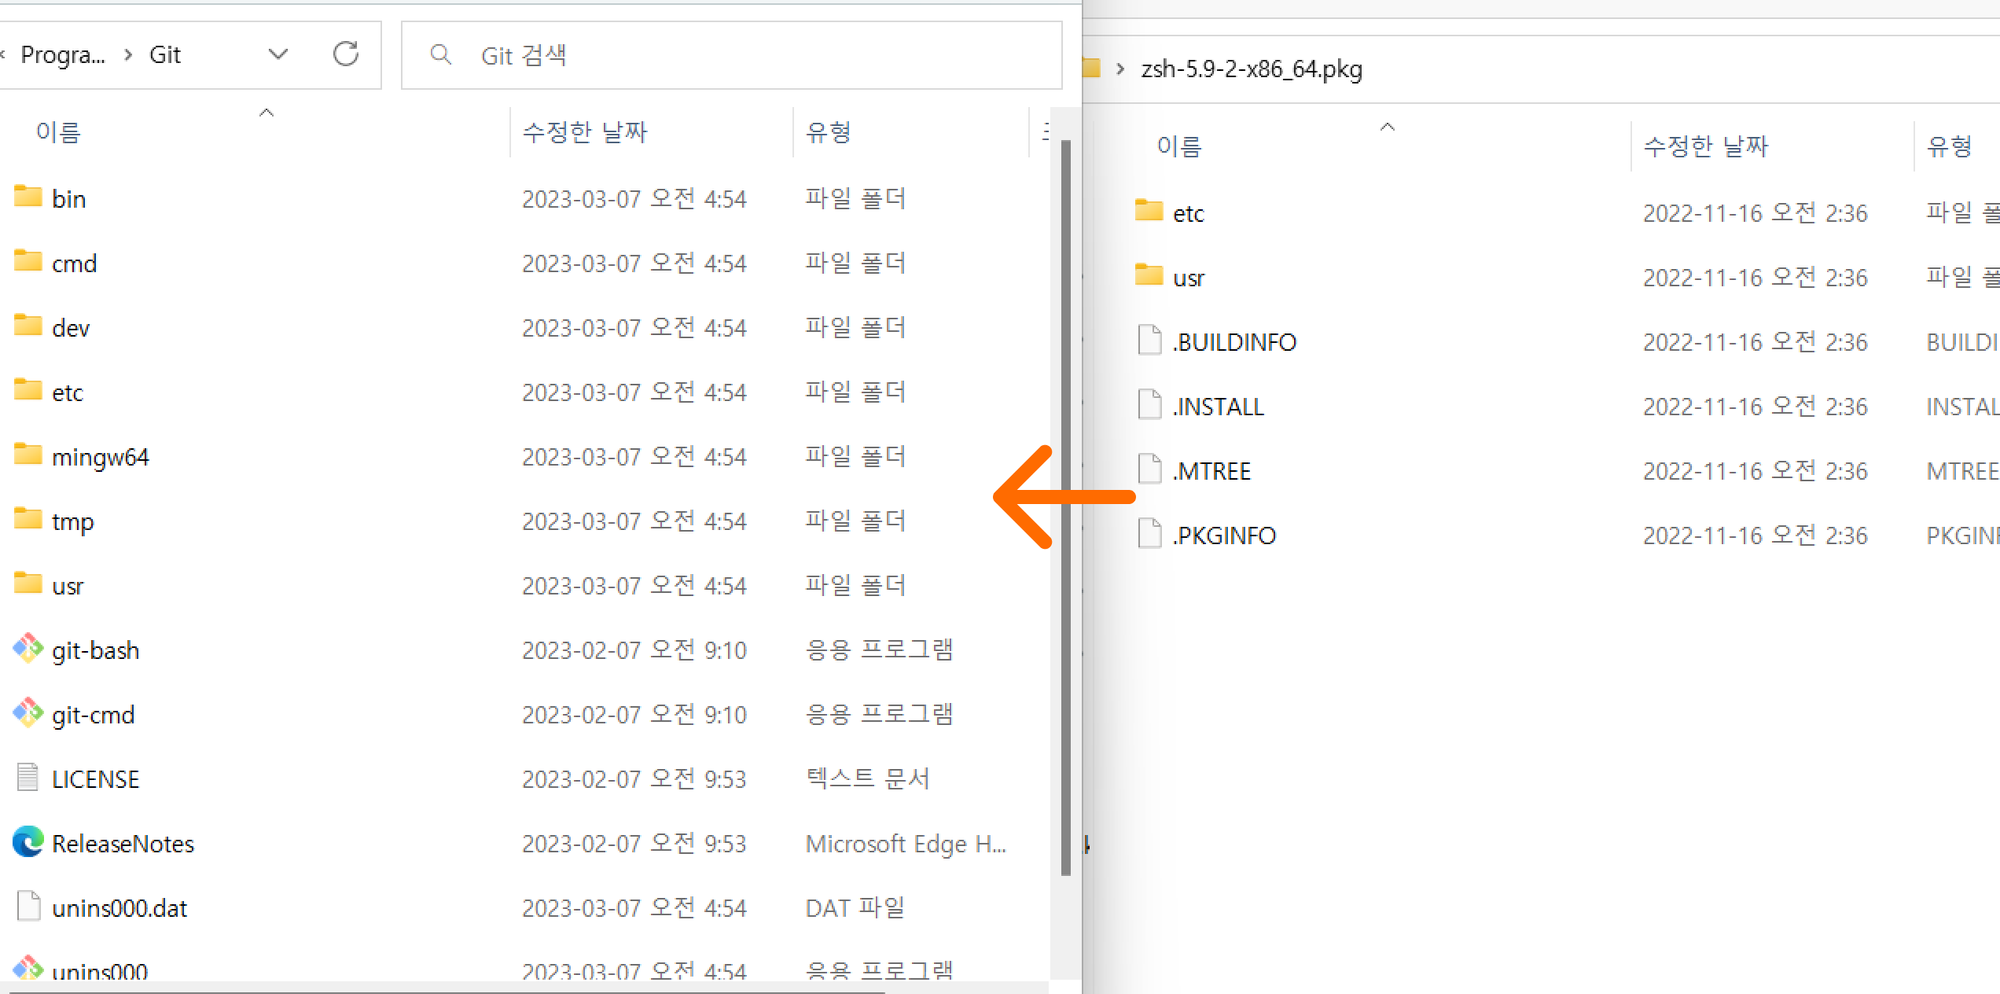
- Git이 설치되어 있는 경로에 압축 해제한 패키지 파일을 그대로 복사해주자.
.INSTALL등의 파일은 제거해주자.
- Git Bash를 열고
zsh를 입력해보자.
This is the Z Shell configuration function for new users,zsh-newuser-install.You are seeing this message because you have no zsh startup files(the files .zshenv, .zprofile, .zshrc, .zlogin in the directory~).  This function can help you with a few settings that shouldmake your use of the shell easier.
You can:
(q)  Quit and do nothing.  The function will be run again next time.
(0)  Exit, creating the file ~/.zshrc containing just a comment.     That will prevent this function being run again.
(1)  Continue to the main menu.
--- Type one of the keys in parentheses ---
다음과 같은 내용이 표시된다면 성공.
~/.bashrc를 열고 다음 내용을 넣어주자. bash 실행 시, zsh가 실행되도록 하는 스크립트다.
# Launch Zshif [ -t 1 ]; thenexec zshfi